Friday, October 27, 2006

Welding, Part 2


Well, at last the end of the welding is in sight. This is the final structural stuff, and after all of this I can get on with building up a new rolling chassis.

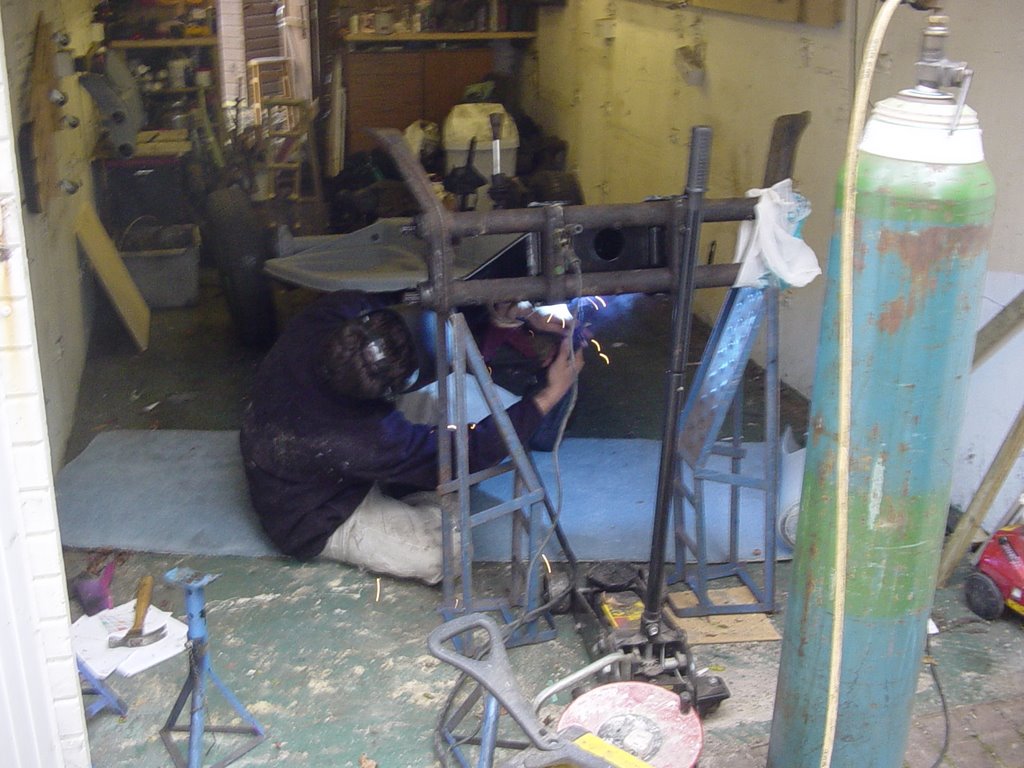
As discussed under the first welding entry (Nice one Nigel) the new framehead was on, but as a precaution a further weld to the original tunnel was made, through a precut slot.

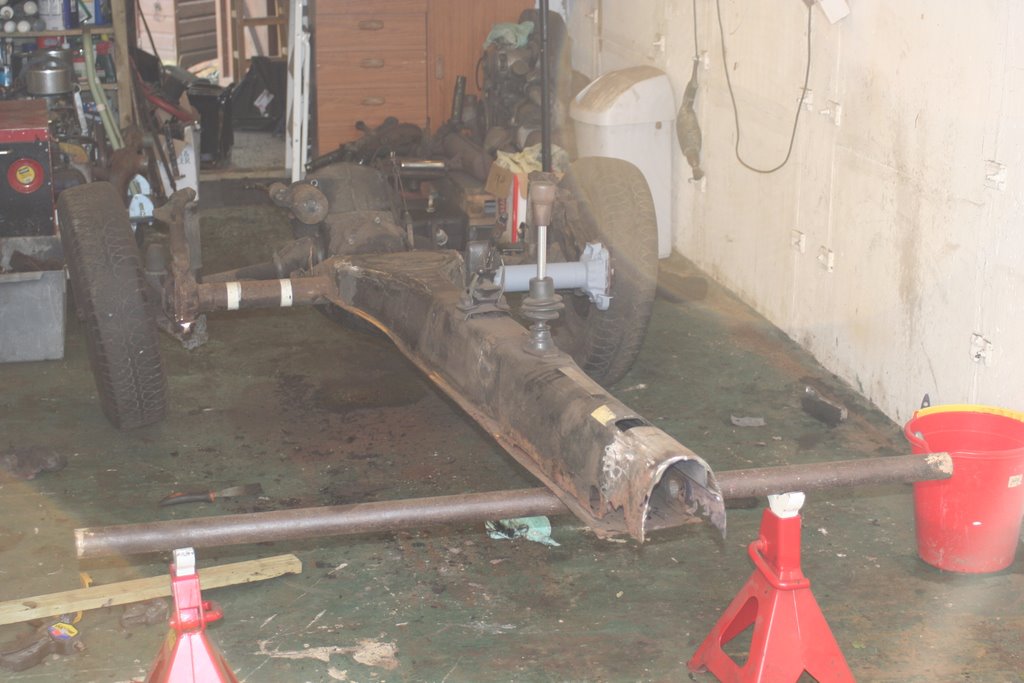
Also to be finished was a small plate underneath - hence getting the car high up in the air, where the original tunnel lower panel had rotted out. They all seem to go here as water collects through the pedal holes and has time to eat it out from within. I had cut back the rot and this left a 6 x 4" hole to be plated up, to meet the new framhead panel.

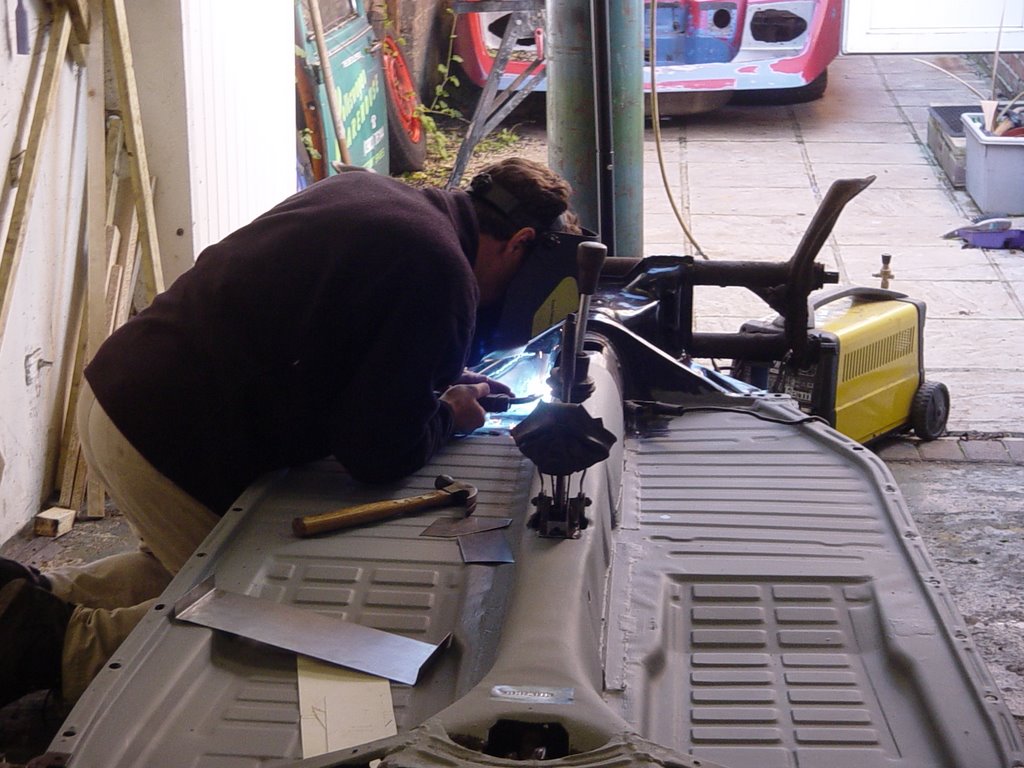
Patches were also cut to size to plate over the master cylinder holes in the chassis bearer (they were for LHD).

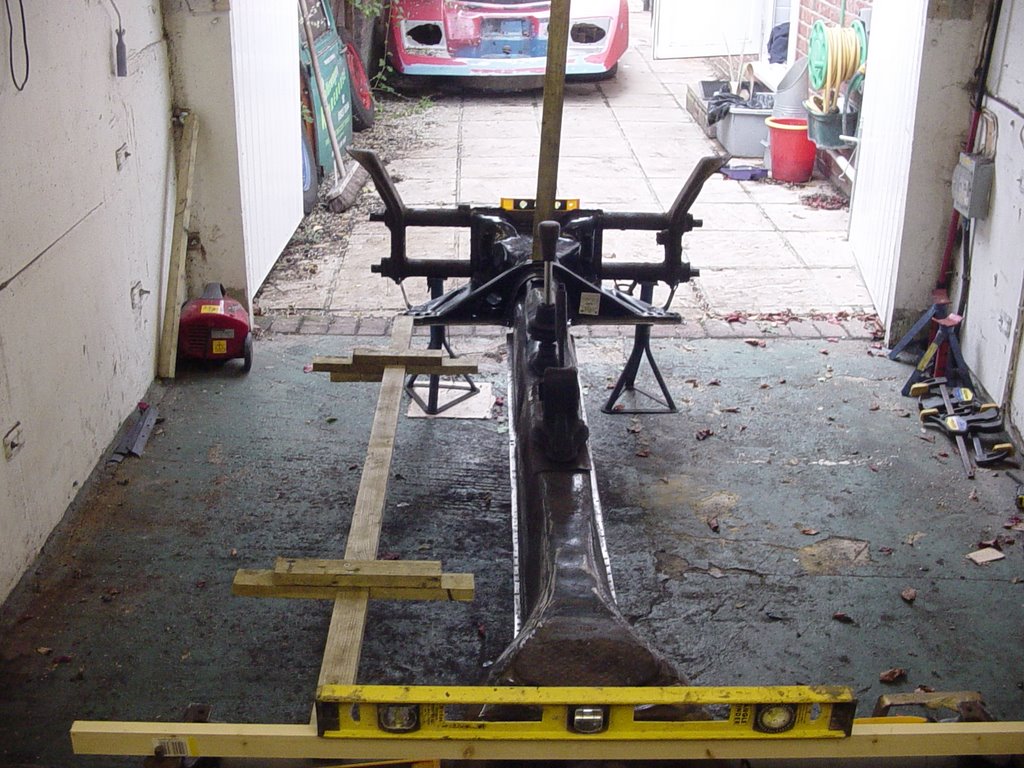
Finally an additional plate was made up to entirely cover the old pedal holes on either side of the tunnel, and add further strength to the tunnel at the point where the new framehead is welded up to the tunnel. This was made up in one piece, with folded edges being welded onto the floors themselves. This was fully seam welded all round.


Here it is, the nice all new framehead and associated panels, all aligned, fully welded and ready for painting.

I am sure the purists wouldn't be happy with the visible welds, but it is all going to be out of sight eventually. My main objective is to build a good looking car, which is structurally sound and easy to maintain. Once these areas are fully primered, seam sealed and have a number of coats of chassis black over them they should be good for years.

The removal of the original pedal holes also removes a possible water trap which has to be a good thing. The last welding job (for now) was re-welding a captive nut on top of the old axle, as one had sheared off. Welding will resume once I have decided on the amount of floor drop needed. Then I can relocate the gear lever and handbrake too. I have seats and a dashboard on their way which will help me mock up a seating position and make some decisions - at last I am building again !!

Tuesday, October 24, 2006

Nice one Nigel, the welding takes shape


Phase 1 of the welding - get the framehead on square !
Pretty important as otherwise I could be driving in circles all day. Fortunately my friendly local welder Nigel was able to come and weld it all up in my garage. This meant I could spend many hours getting it all leveled first. All four corners were on axle stands with spirit levels across the torsion tubes front and rear and across the shock mounts. Jigs were made to measure the distance from the chassis bearer to the rear torsion tubes and these measurements were checked throughout the welding process. Initially I had planned to replace just the chassis bearer and lower framehead panel. As I said under the 'Donor card' blog the original framehead had been welded so many times it was impossible to get ay repair panels to fit. Fortunately VW Heritage (see links) do this great framehead replacement panel with all 3 parts pre assembled.
The framehead was initially tacked on, and then fully seam welded to good clean metal. As a further precaution a slot was cut in the repair panel 4 inches along to weld through to the tunnel below. The new panel overlaps the original tunnel by at least 6 inches allowing this second weld point which we thought was important for strength.

Once we were happy that the framehead was on in the right place the floorpans could go in. I had again taken many measurements to be sure I knew where the pans started and finished. Pleasingly, with the framehead secure the pans went in on their markings. This confirmed 3 things, Nigel had done a good job with the welding, the measurements were correct and the new pans were a decent quality and the same as the ones that came off - result !
The lower edge of the tunnel, near the mounting lip had been damaged in parts by sitting water - mainly near the pedals, so some right angle steel was welded in to give strength back here, and for good measure carried right along the flat sections. The final stage will be to fill in a hole cut in the top of the tunnel by the last owner (lazy) and plate over the pedal mounting holes (I am not using the original pedal set up). Also holes in the bulkhead for the master cylinder etc need plating as they are for LHD ! Then I will pump the tunnel full of Waxoyl and ensure the dreaded tin worm is banished.

Your donor card please

Well here she is, the unsuspecting donor. As the eagle eyed will notice, she was quite a looker in her glory days, and in fact a rolling advert for my local VW specialist I have used since I was 17.
When I went to see what basket cases they had with a correct V5 (tax free) I was surprised to find out the garage had changed hands and that this multi coloured beauty was up for grabs.
If you are squeamish look away now ! After much cutting the chassis was exposed. In the process a good front axle, engine, gearbox, and full wiring loom were retained. However, as you can see the good parts of the chassis were easy to count !
The old framehead had been plated over so many times that the repair panels just wouldn't line up. I also had concerns, which were confirmed by my friendly welder Nigel, that the front end was out of line. The only sensible option in the end was to cut off the framehead entirely and weld a new complete head in - more of this in later blogs.

Oh dear NENA, you have let me down


You will start to see a pattern emerging. Another weekend of drinks and more friends 'persuaded' to help with the project. This time to remove the body from the chassis.

Thanks Simon H (bottom left), Nick (top left), Paul (top right) and Simon (front right). It all went fine until I (top middle) realised the speedo cable was still connected ! Anyway, once the body was off NENA revealed some nasty surprises. The drivers 'lowered' footwell was a combination of scrap steel, sheet aluminum, a plastic tray and a lot of rivets ! The tunnel had significant damage to it where attempts had been made to cut in a new handbrake mounting and brake fluid had eaten through much of the front framehead lower panel. The diagnosis was not good. This coupled with a 1978 V5, meaning no free road tax made the next decision that bit easier - find a new chassis !

Meet NENA


Meet NENA, a 1978 VW NOVA kit car, registered, rather amuzingly on her V5 as a VW NOVA Porshe (yes no c ).

What would you do with your weekend, when 3 old university friends are visiting to watch the start of the World Cup? Wrestle a very sorry NOVA home of course !!

Thanks Roy (bottom left), Mark (top right), Lucian (bottom right) for your help.

So here she is, looking reasonably complete, but hiding a multitude of horrors. More of that later ! What have I done ????? Jim (top left).

This is how it all begins.............................

So this is how it all starts.

Man passes driving test, man buys beetle, man is nearly bankrupted by beetle.

Man sells beetle, man buys campervan, man is nearly bankrupted by campervan.

Campervan is sold, man buys beetle, man is nearly killed by beetle spontaneously combusting.

Man gets vaguely sensible, buys VW Golf, gets mortgage and proper job with company car.

Man sells VW Golf and builds VW Beach Buggy.

Man realises never uses VW Beach Buggy so sells it.

Man misses the VW Beach Buggy so buys a project VW NOVA kit car that has seen better days.

The restoration (fun) begins.......................................................................