Monday, November 27, 2006

I've tidied up my rear end

It's been a while since the last post. Work, Xmas parties (yes really) and a million and one other things have slowed me down, but I do think I'm getting there.

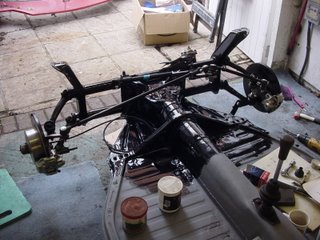
All of the rear metal work has now been cleaned up - lots of wire brushing (by hand and angle grinder). I have then treated it all with Hammerite anti rust treatment, zinc anti rust primer and Smoothrite. Hopefully that will keep things tidy for a while !

All nuts and bolts have been replaced with either stainless or zinc coated, and most importantly the right grade - particularly for the bolts that hold the swing arms to the axle tubes. I spent far too much of my life de-greasing the gearbox and removing 30 years worth of road grime ! It is now clean, and oil free. I did contemplate painting it, but don't want to take the detailing too far. As I have said in previous posts the aim is to build a solid fun and reliable car - not a precious show car. You may also spot a new engine support in the top photo - the last had been butchered with a home-made tow bar and weakened too much in my opinion. Gearbox mounts were also changed at this time.
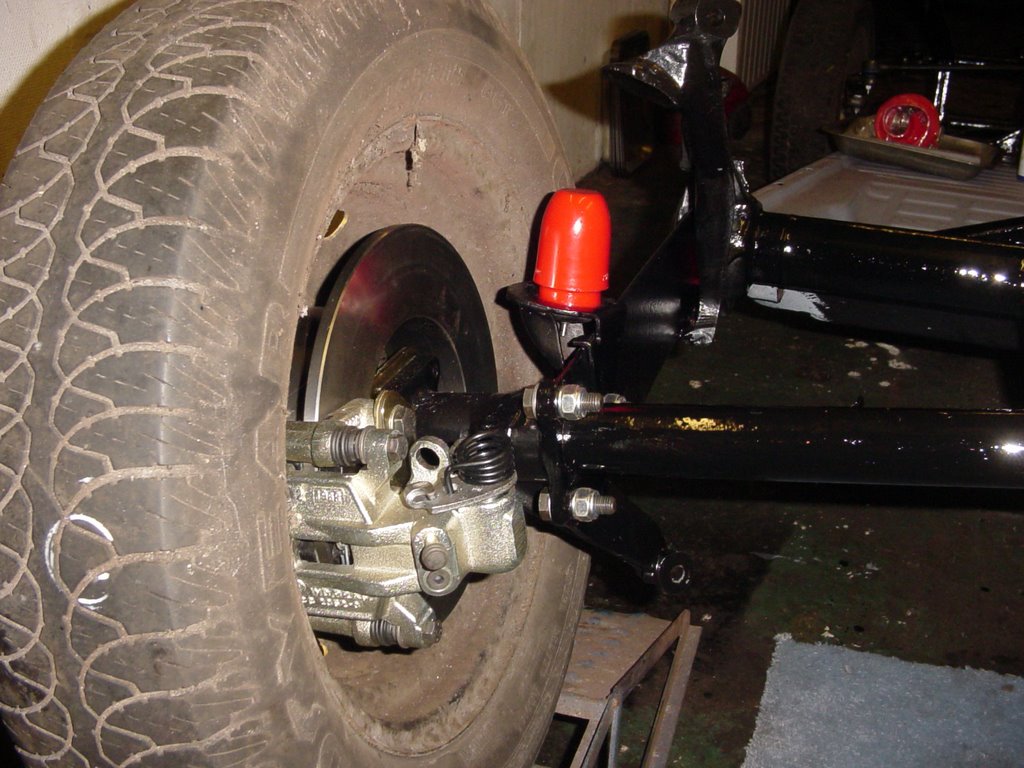
Though not a fan of multicoloured underpinnings I am accenting in red. I prefer the urethane parts, where available. They seem to wear well, and are often cheaper than stock. To match the new bumpstops a set of red drive shaft boots will go on soon, then I can refill the gearbox oil ! I may detail some of the engine/tinwear in red eventually - the callipers will be sprayed red eventually as well.

That includes the rear callipers, on my new EMPI rear disc kit. This was the first time I have fitted rear discs, and I hope these will work well with the adjustable pedal assembly I have. The kit had reasonable instructions, but not great. The quality is reasonable, but not the best. I spoke to others who have fitted them, and the calliper alignment does seem to be the weakness. It seems to depend on the year as to where you put the spacer washers, and how many ! Also the castings of the callipers isn't spot on in places so if you go for similar to look carefully before fitting and ruining your new discs. I had to file a couple of spots, which now means the coating is lost and painting is a must. Might as well go for porsche red callipers then !!

Sunday, November 12, 2006

Been shopping

Progress may be slow, but the purchases have been mounting up !

I have started amassing many parts, both for the chassis/mechanical side of things, and also for the bodywork. In particular, a great find was a number of NOVA spares, through the Club NOVA/AVANTE website (see Sources of Inspiration) - cheers Adrian.

Room at home is getting tight so have put a number of spares up in the loft, and in the shed for now until they are needed, but thought I would post a few photos up here of them all first.


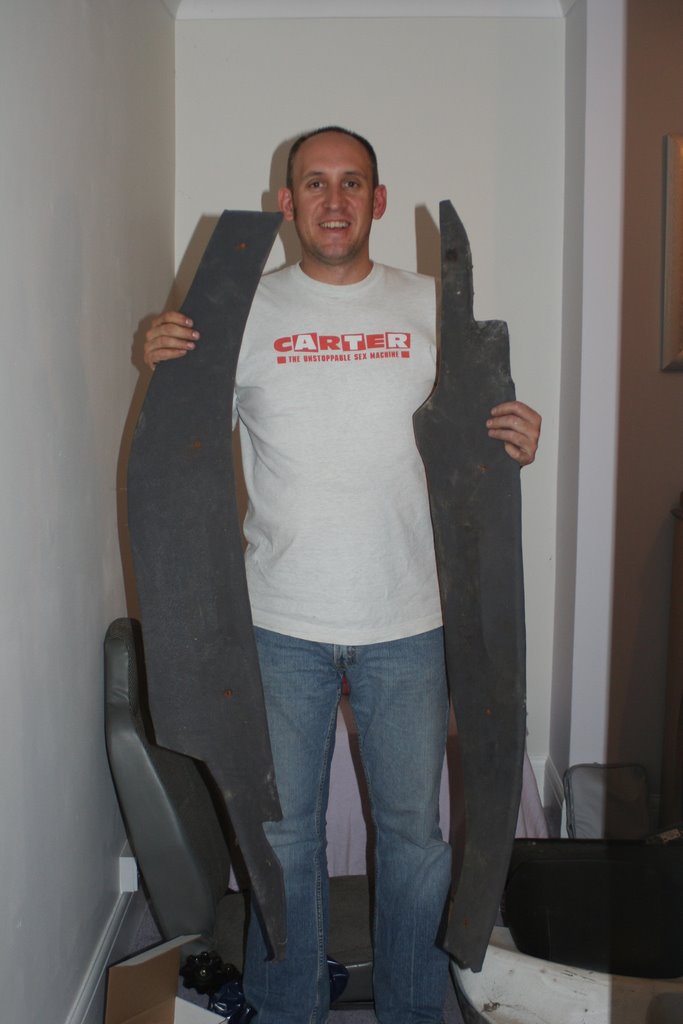
Canopy side interior panels (GRP) . These are in need of a good clean, and retrim, but the GRP is fine, aside from a couple of old mounting holes.


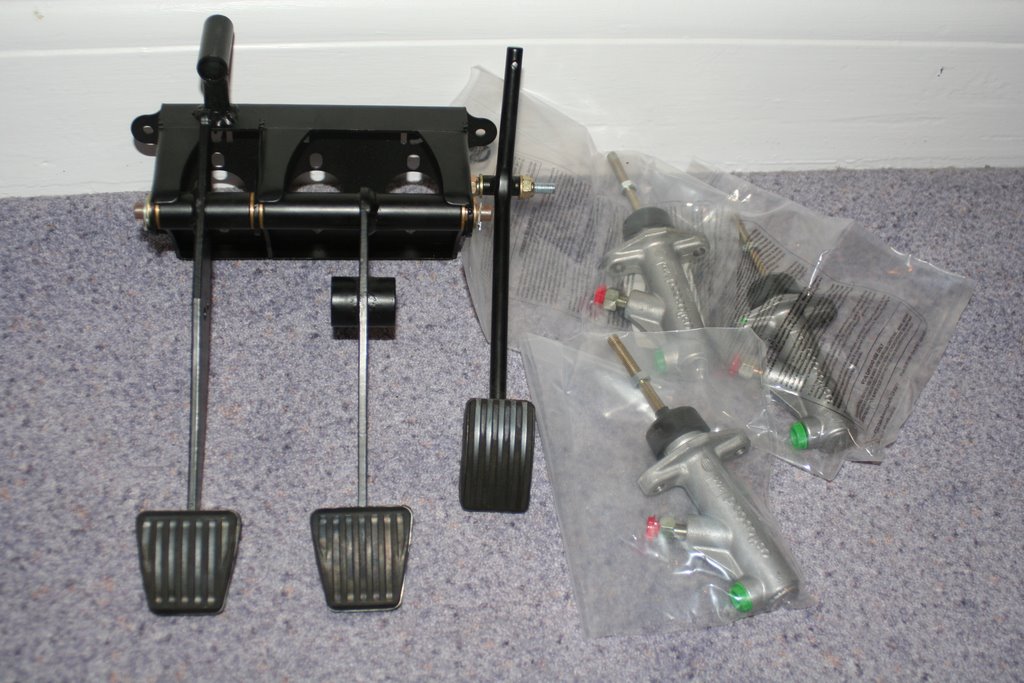
Pendulum mount pedal box, with three master cylinders. I will be having front and rear discs with a bias bar to adjust the front/rear braking. The clutch will be hydraulic as well, utilizing a NEAL slave cylinder.


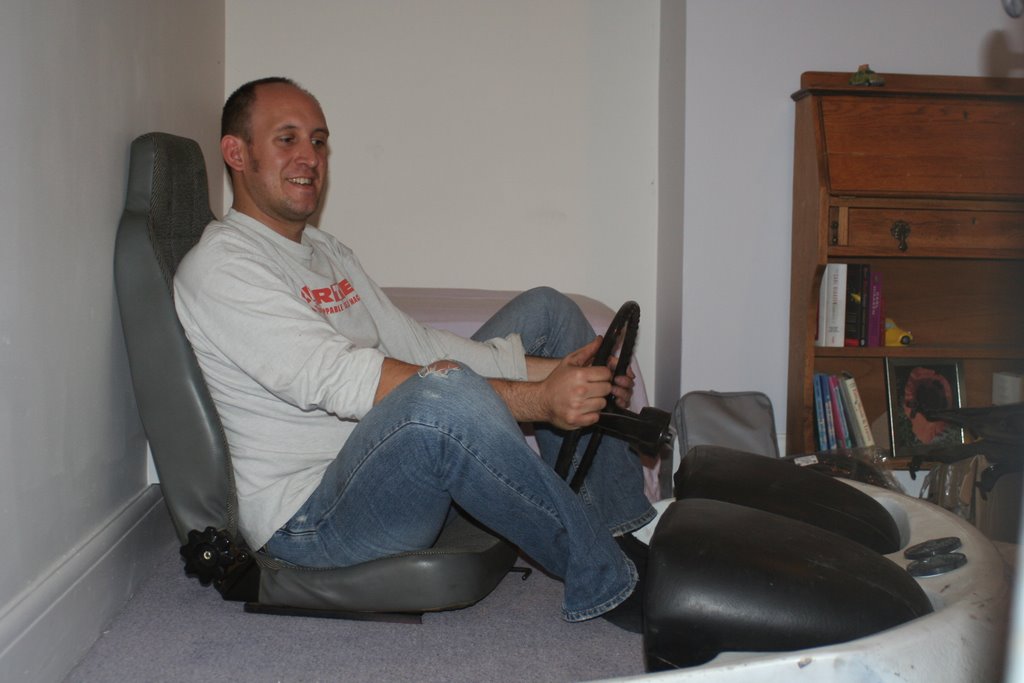
Bedford rascal seats (e-bay £30 for 2), original NOVA dashboard and pods.


Now I can start testing out seating positions (yes I know this needs to be done in the car !).


Close up of dash, some patching required here and there, but overall solid.


Pods have been trimmed in PVC. I will probably strip these down and either paint, or re-cover.


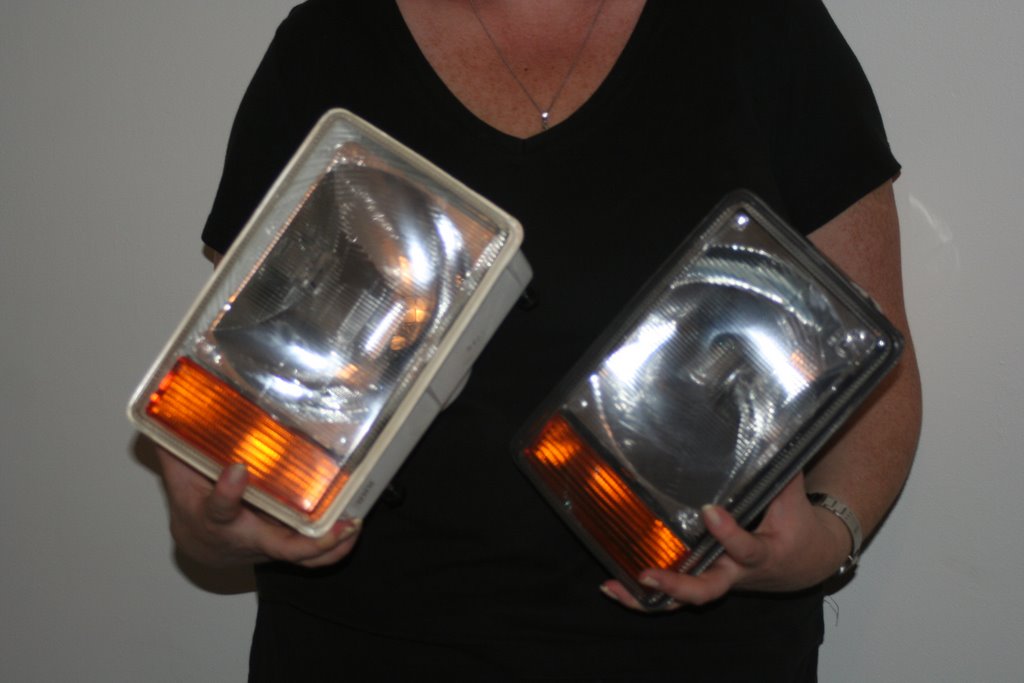
Nice pair of headlights Sarah !

These were another e-bay bargain, chosen for their integral indicators. They should fit snugly in the existing light pods, with a bit of careful cutting. Now I just need to find rear lights and side repeaters (perhaps built into mirrors).


Well that's it for now, more pictures will follow as these bits start to get fitted, Jim.

Saturday, November 11, 2006

4 wheels on my wagon

Well, its been a while since my last entry, but today I got back to what I enjoy - rebuilding !
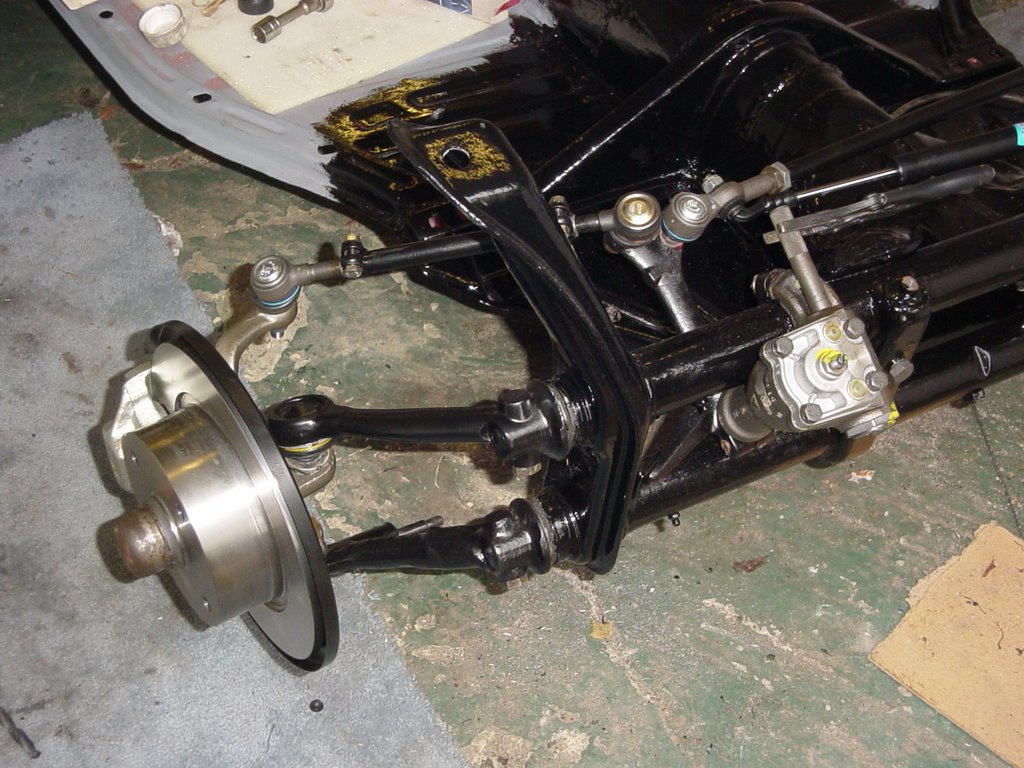
After a week or two of shopping and assembling the parts required I have rebuilt the front end, and re-installed the front axle.

I could have re-used one of my salvaged steering boxes, but think both are probably past there best, so chose to get a new one through VW Heritage. I went through the pain of stripping down the old tie rods - If you have done it you will now what I mean !! I figured its a pain to get to all the suspension and steering gear once the NOVA shell is back on, so have gone for the safe option of replacing everything ! I used a disc brake conversion kit from VW Heritage, which I have used before on my beach buggy. The parts are all VW and good quality. A 'How to' guide from Volksworld helped refresh my memory, with it being @3 years since I last did the conversion, but it went well, and hopefully should help stop me when I need it.
I know I should be working on the bodyshell, getting it straight and prepped for paint, but am struggling for room. I think the aim is now to re-build the back end and then mount the shell to it, which means I can keep it dry in the garage and start sanding etc.

It feels like major progress today to get front wheels back on, and it is nice to get the car out of the garage to enable me to have a good old clean ! Oh for a double garage !!

Well here it is - the rolling chassis - on the road again !!

Friday, October 27, 2006

Welding, Part 2


Well, at last the end of the welding is in sight. This is the final structural stuff, and after all of this I can get on with building up a new rolling chassis.

As discussed under the first welding entry (Nice one Nigel) the new framehead was on, but as a precaution a further weld to the original tunnel was made, through a precut slot.

Also to be finished was a small plate underneath - hence getting the car high up in the air, where the original tunnel lower panel had rotted out. They all seem to go here as water collects through the pedal holes and has time to eat it out from within. I had cut back the rot and this left a 6 x 4" hole to be plated up, to meet the new framhead panel.

Patches were also cut to size to plate over the master cylinder holes in the chassis bearer (they were for LHD).

Finally an additional plate was made up to entirely cover the old pedal holes on either side of the tunnel, and add further strength to the tunnel at the point where the new framehead is welded up to the tunnel. This was made up in one piece, with folded edges being welded onto the floors themselves. This was fully seam welded all round.


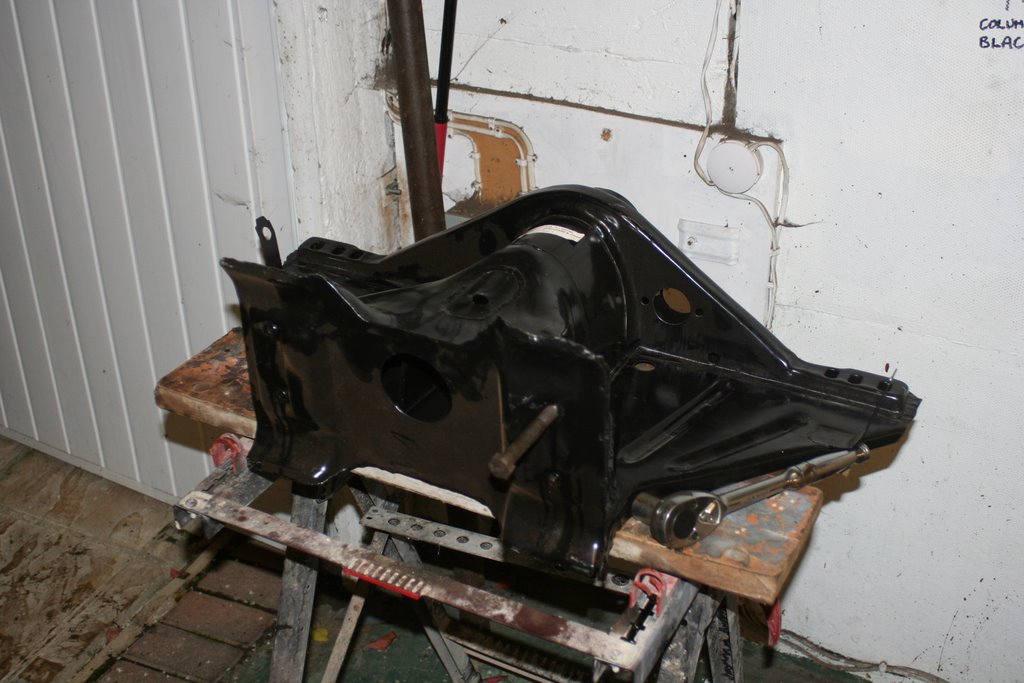
Here it is, the nice all new framehead and associated panels, all aligned, fully welded and ready for painting.

I am sure the purists wouldn't be happy with the visible welds, but it is all going to be out of sight eventually. My main objective is to build a good looking car, which is structurally sound and easy to maintain. Once these areas are fully primered, seam sealed and have a number of coats of chassis black over them they should be good for years.

The removal of the original pedal holes also removes a possible water trap which has to be a good thing. The last welding job (for now) was re-welding a captive nut on top of the old axle, as one had sheared off. Welding will resume once I have decided on the amount of floor drop needed. Then I can relocate the gear lever and handbrake too. I have seats and a dashboard on their way which will help me mock up a seating position and make some decisions - at last I am building again !!

Tuesday, October 24, 2006

Nice one Nigel, the welding takes shape


Phase 1 of the welding - get the framehead on square !
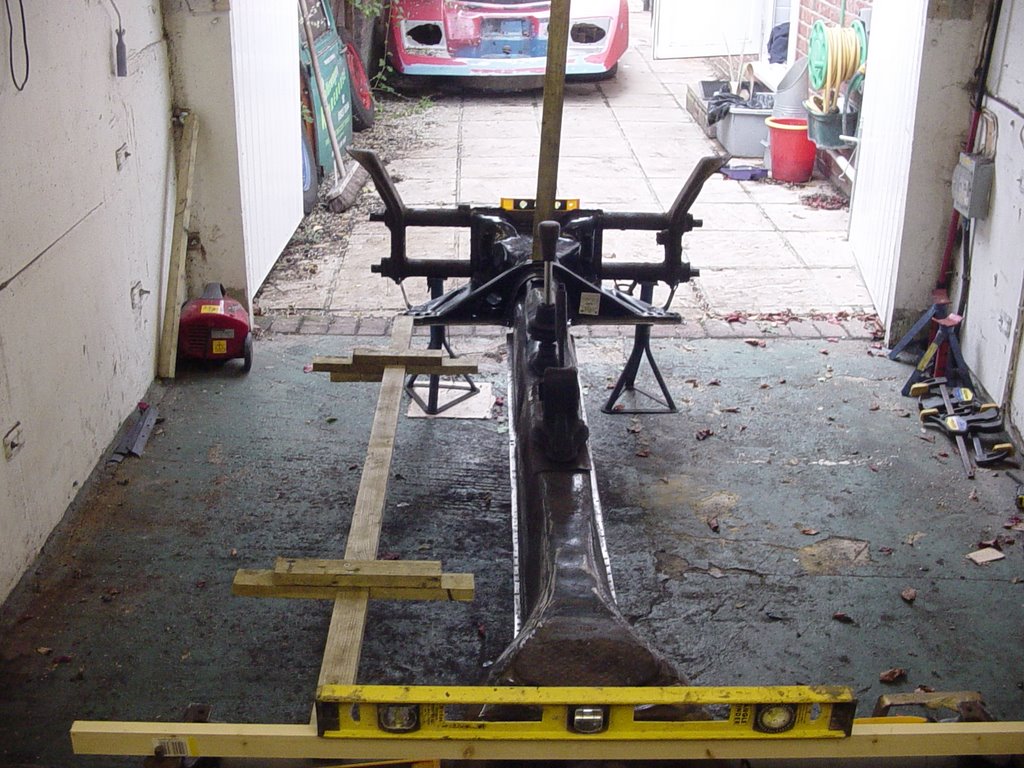
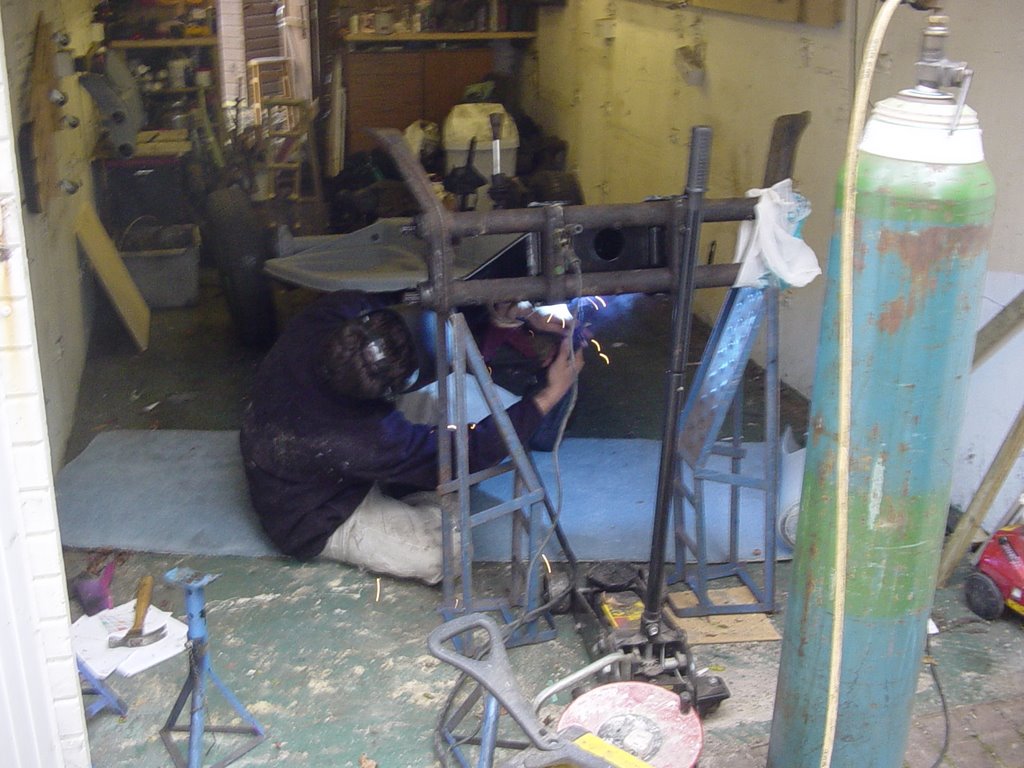
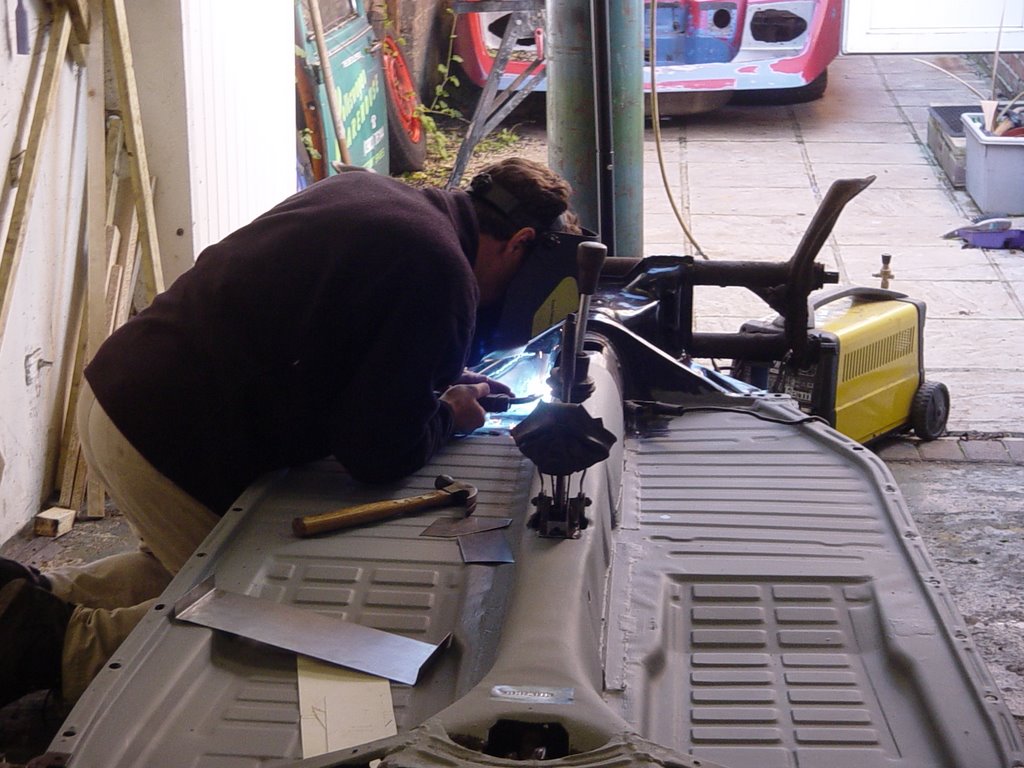
Pretty important as otherwise I could be driving in circles all day. Fortunately my friendly local welder Nigel was able to come and weld it all up in my garage. This meant I could spend many hours getting it all leveled first. All four corners were on axle stands with spirit levels across the torsion tubes front and rear and across the shock mounts. Jigs were made to measure the distance from the chassis bearer to the rear torsion tubes and these measurements were checked throughout the welding process. Initially I had planned to replace just the chassis bearer and lower framehead panel. As I said under the 'Donor card' blog the original framehead had been welded so many times it was impossible to get ay repair panels to fit. Fortunately VW Heritage (see links) do this great framehead replacement panel with all 3 parts pre assembled.
The framehead was initially tacked on, and then fully seam welded to good clean metal. As a further precaution a slot was cut in the repair panel 4 inches along to weld through to the tunnel below. The new panel overlaps the original tunnel by at least 6 inches allowing this second weld point which we thought was important for strength.

Once we were happy that the framehead was on in the right place the floorpans could go in. I had again taken many measurements to be sure I knew where the pans started and finished. Pleasingly, with the framehead secure the pans went in on their markings. This confirmed 3 things, Nigel had done a good job with the welding, the measurements were correct and the new pans were a decent quality and the same as the ones that came off - result !
The lower edge of the tunnel, near the mounting lip had been damaged in parts by sitting water - mainly near the pedals, so some right angle steel was welded in to give strength back here, and for good measure carried right along the flat sections. The final stage will be to fill in a hole cut in the top of the tunnel by the last owner (lazy) and plate over the pedal mounting holes (I am not using the original pedal set up). Also holes in the bulkhead for the master cylinder etc need plating as they are for LHD ! Then I will pump the tunnel full of Waxoyl and ensure the dreaded tin worm is banished.